Blog
Book a Demo
System Status
Support
Login
MX Layer MX Layer
MX Layer
  • Solutions
    • Featured Solutions Solution by Business
      Featured Solutions Email Security & Resilience
      • Business Email Security

        Protect your business emails from advanced threats and cyberattacks with MX Layer's comprehensive email security solutions.

      • Inbound Email Filtering

        Safeguard your inbox from malicious emails and spam with MX Layer's robust inbound email filtering services.

      • Outbound Email Filtering

        Ensure that your outgoing emails are secure and compliant with MX Layer's outbound email filtering solutions.

      Data Retention & Compliance
      • Email Archiving

        Store, manage, and retrieve your emails easily and securely with MX Layer's email archiving services.

      • Email Compliance

        Stay compliant with email regulations and standards using MX Layer's email compliance tools and services.

      • Data Leak Prevention

        Prevent accidental or malicious data leaks via email with MX Layer's email data leak prevention solutions.

      By Industry
      • Service Providers

        Empower your email services with MX Layer's advanced email security solutions, tailored for service providers.

      • Small & Medium Businesses

        Protect your small or medium-sized business from email threats with MX Layer's tailored email security solutions.

      • Large Enterprises

        Secure your large enterprise's email communications with MX Layer's comprehensive email security services.

  • Platform
  • Pricing
  • Partner Program
  • Resources
    • Resources
      • Blog

        Keep up with the latest news in the email security ecosystem.

      • Help Center

        Find the information you are looking for about MX Layer.

      • e-Books

        Get the latest email security insights in our e-book library.

      • Free Email Tools

        Use MX Layer's free email tools to configure a secure email platform

      • News

        News about MX Layer

  • Contact Us
Start Free Trial Become a Partner
  • Start Free Trial
  • Become a Partner
Help Center - MX Layer
No Result
View All Result
  • Home

Categories

  • Quick Start Guide
  • Admin Panel Guide
  • Organization Management
  • Managing Organization's DNS Records
  • Domain Management
  • Incoming Mail Profile Setup
  • Outgoing Mail Profile Setup
  • Setting Up Unified Mail Gateway (UMG)
  • Creating Accounts in the Organization's Domain
  • User Panel Guide

Search

No Result
View All Result

Adding a New Account

August 7, 2024
in Creating Accounts in the Organization's Domain
Reading Time: 2 mins read

With the MX Layer management panel, you can add new accounts to your domain at any time. You can start using a new account immediately after creating it.

Adding a New Account

Follow these steps to add a new account:

  1. Login to MX Layer Management Panel
    • Go to panel.mxlayer.com and log in with your credentials.
  1. Select Domain
    • Click on the “Domains” option from the menu list.
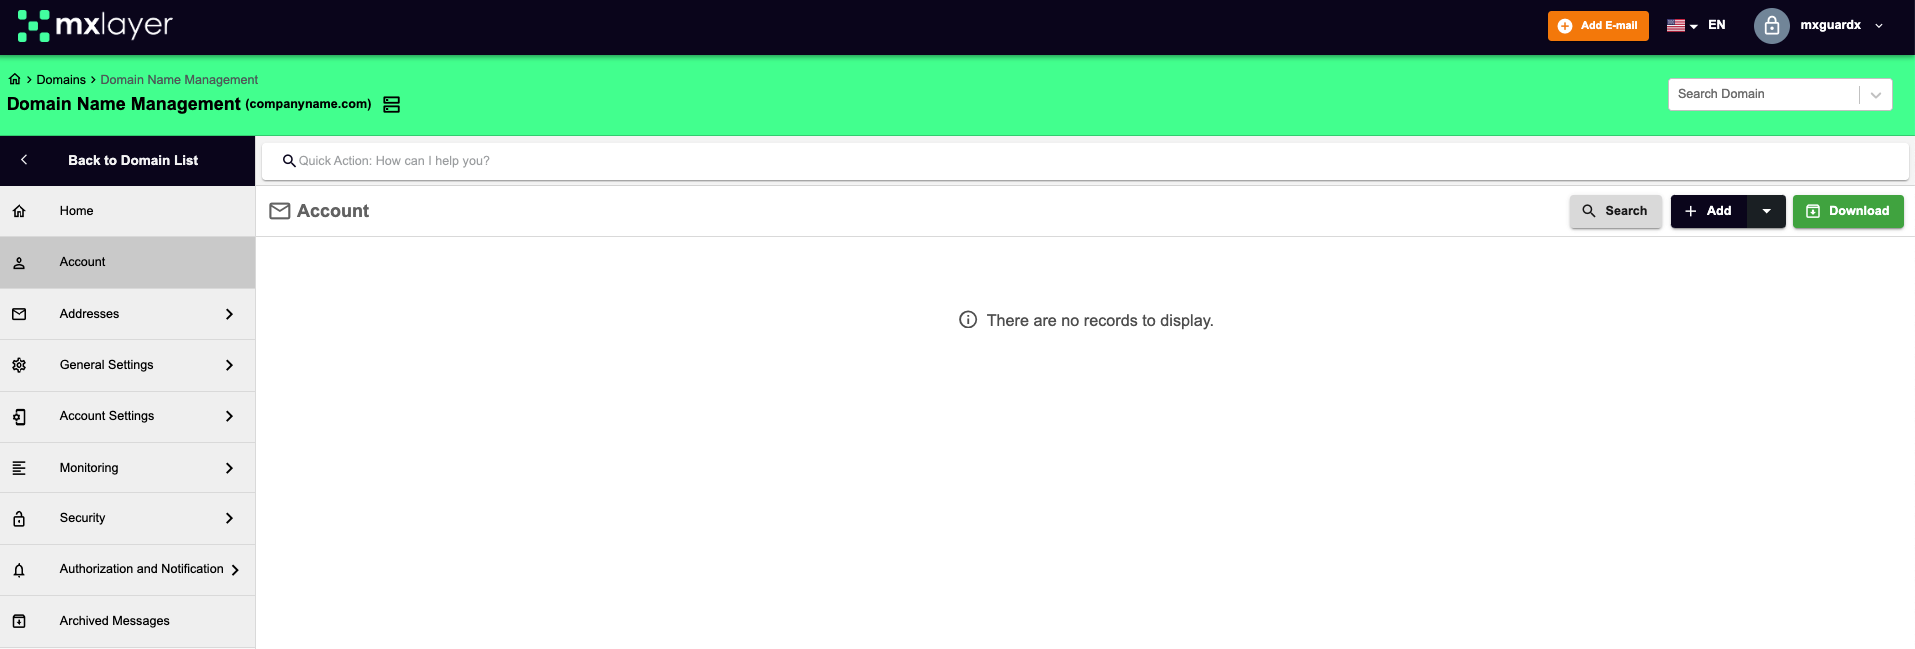
    • Select the domain you want to manage, then click on the “Accounts” menu in the “Domain Management” page that opens.
  1. Add New Account
    • In the Accounts page, click the “Add” button.

  1. Define Account Information
    • First Name – Last Name: Enter the first and last name of the account user.
    • Account Address: Enter the username for the account you want to create (you cannot reuse a previously taken username).
    • Status: You can set the account as active or passive. In passive mode (Archive Mode), the account will not accept new messages and will be closed to use.
    • Mobile Number: Enter the phone number of the account user. This will be used for security verifications and notifications. If the “Accept phone number as verified” option is selected, the phone number will be registered in the system without requiring further confirmation.
    • Assign Group: Assign accounts to predefined groups to facilitate account management.

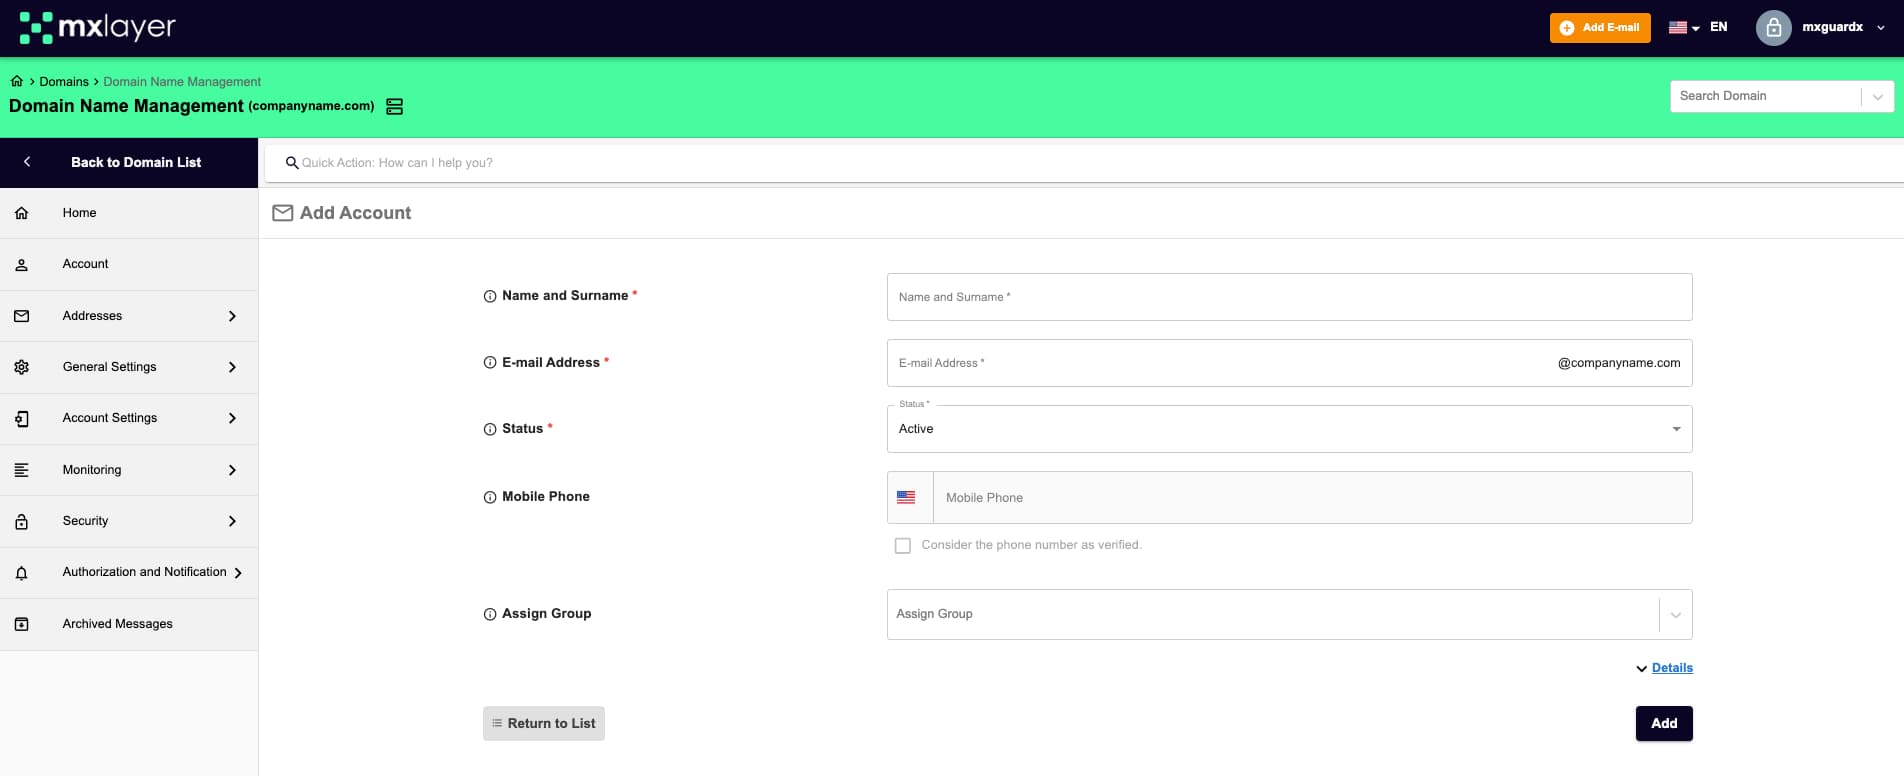
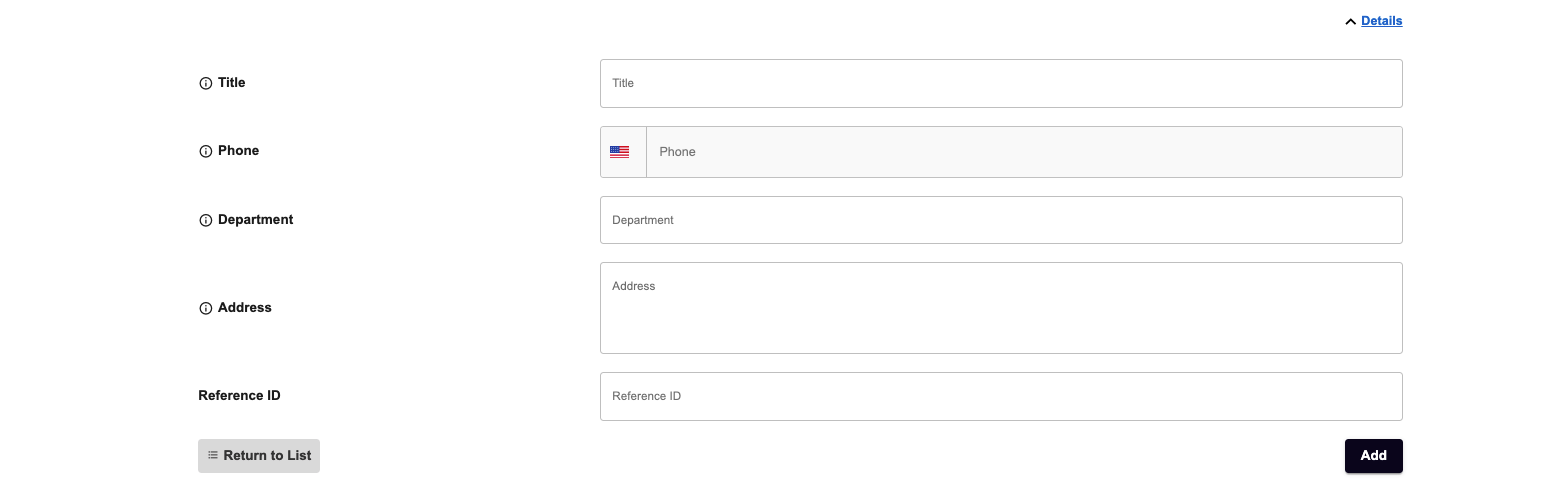
  1. Use the Details Button to see more settings that can be configured when creating the account:
    • Title: You can add the user’s title.
    • Phone: You can enter the user’s office phone number.
    • Department Name: You can enter the name of the department the user belongs to.
    • Workplace Address: You can enter the user’s work address.
    • Reference ID: You can enter the user’s Reference ID information.

After entering all the information, you can complete the account addition process by clicking the “Add” button.


Previous Post

DKIM Record (Optional Record)

Next Post

Deleting an Account

Related Posts

Creating Accounts in the Organization's Domain

Editing an Account

User Information  You can make modifications to the accounts added to your panel through this page. Addresses  You can view...

August 7, 2024
Creating Accounts in the Organization's Domain

Deleting an Account

You can delete an account by clicking the delete icon in the actions column of the accounts list.

August 7, 2024
Load More
MX Layer

Cloud-based solutions for email security, business continuity, data loss prevention, and email archiving services.

Copyright © 2023 MX Layer. All Rights Reserved
Featured Solutions
  • Business Email Security
  • Inbound Email Filtering
  • Outbound Email Filtering
  • Email Archiving
  • Email Compliance
  • Data Leak Prevention (DLP)
Solution by Business
  • Service Providers
  • Small & Medium Businesses
  • Large Enterprises
Platform
  • Discover the Platform
Company
  • About Us
  • Terms & Conditions
  • News
Resources
  • Blog
  • Help Center
  • e-Books
  • Free Email Tools
Las Vegas, NV USA +1 702-410-7868 [email protected]
  • Support
  • Sales
  • Demo
  • Start Free Trial
  • Become a Partner
  • Legal
  • Terms & Conditions
  • Privacy Policy
No Result
View All Result
  • Quick Start Guide

© 2023 MX Layer. All Rights Reserved.