The definitions on the Trusted and Blocked Addresses page apply to all connected email accounts under your domain. Follow the user-based definition steps in Domains > Domain Name Management > Security.
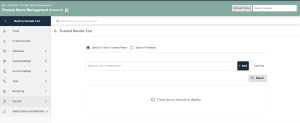
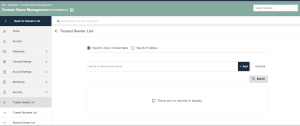
Trusted Sender List
Trusted senders forward emails from domains, emails, or IP addresses without issue. Follow these steps to add addresses to the Trusted Sender List:
- To add to Trusted Senders, enter an email address or domain name in the Specify Email or Domain Name box or an IP address in the Specify IP Address box. Alternatively, use the Add Bulk button.
- Click Add to finish.
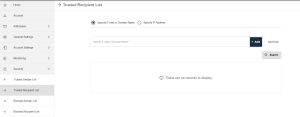
Trusted Recipient List
The system smoothly transmits emails from trusted sources, including domain names, email addresses, and IP addresses you’ve added to the Trusted Recipient List.
To add addresses to the Trusted Recipient List, follow the steps outlined below:
- Input an email address, domain name, or IP address in the designated fields under Trusted Recipient List.
- Utilize the Add Bulk button or click Add to finish the process.
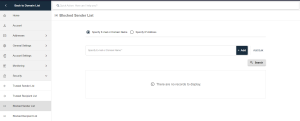
Blocked Sender List
To prevent emails from specific sources, like an email address, domain name, or IP address, include them in Blocked Senders. This action automatically rejects messages from those sources without requiring further filtering.
You can add addresses to the Blocked Sender List by following the steps below:
- Enter an email address or domain name in the Specify Email or Domain Name section, or type an IP address in the Specify IP Address section to add to the Blocked Sender List. Alternatively, use the Add Bulk button.
- Click Add to finalize the process.
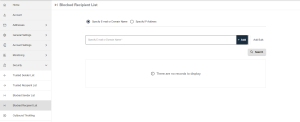
Blocked Recipient List
You can control outgoing emails from specific sources by adding their email, domain, or IP to the Blocked Recipient List.
Below are the steps to add addresses to the Blocked Recipient List:
- Input an email address, domain name, or IP address in the designated fields under Blocked Recipient List.
- Utilize the Add Bulk button or click Add to finish the process.
Delete Operations
You can delete a single record by following the steps outlined below:
- Find the record you want under Email, Domain, or IP Addresses using the Search section.
- Click on Delete in the Actions column.

Click the Delete button to initiate the deletion process.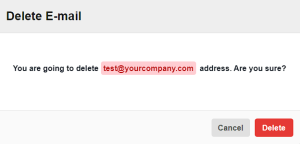
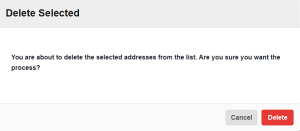
Delete multiple records simultaneously with these steps:
- Choose target records from Email, Domain, or IP Addresses for deletion.
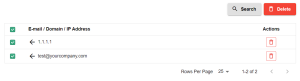
- Select the Delete option in the Transactions column.
- Confirm the deletion by clicking the Delete button in the window that appears.